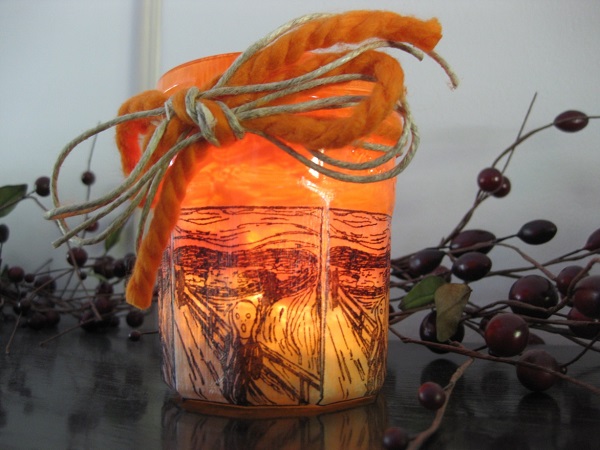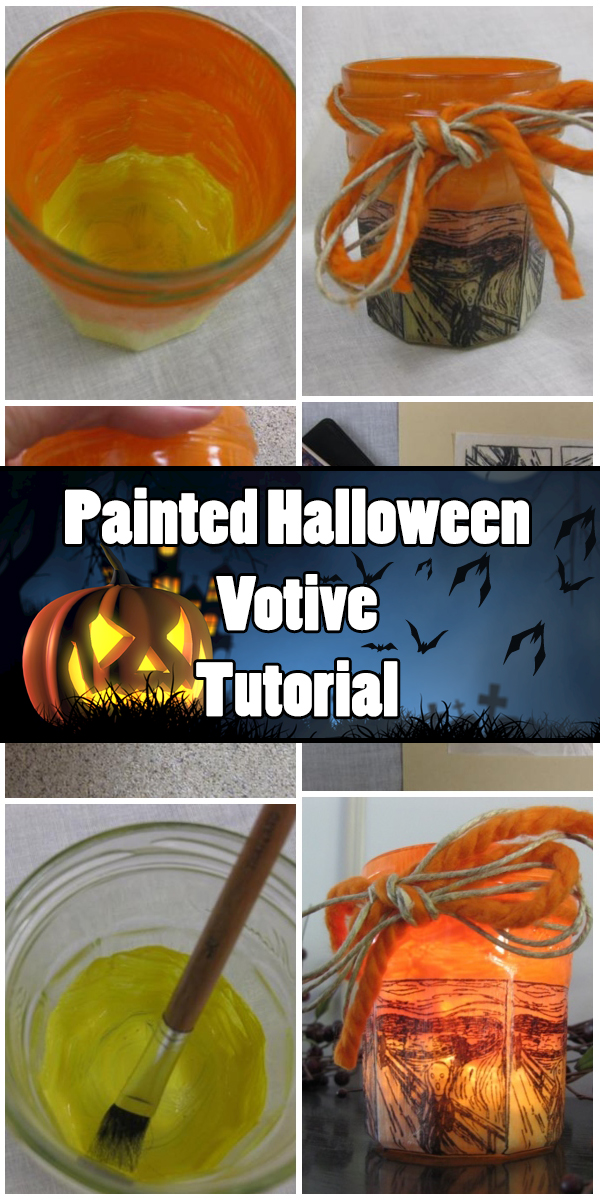
One of the best ways to add an extra level of spookiness to your Halloween decor is with some eerie lighting, and a few of these votives will do the trick perfectly! Check out the tutorial below to learn how to make them yourself.
Step 1:
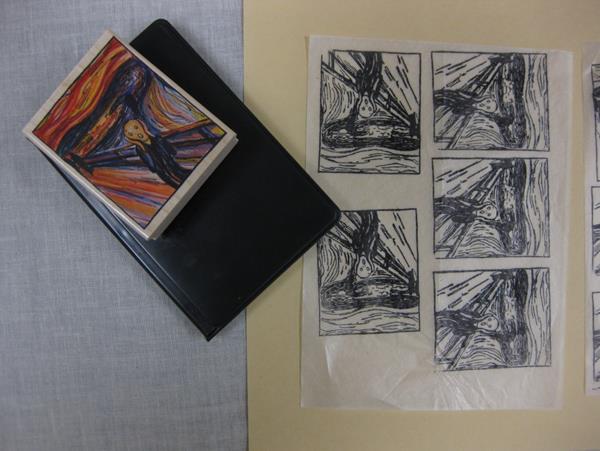
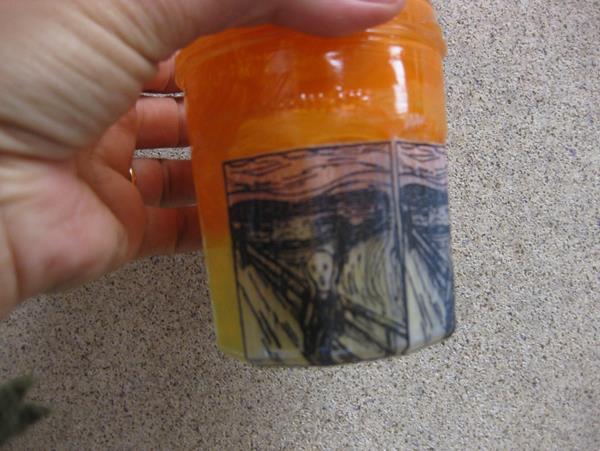
Grab a scary stamp and some black ink. My “Scream” stamp came from museumstamps.com but you could use spiders, bats, whatever you have on hand. Stamp with the black ink several times onto tissue paper. I used white so that the color of the jar would change the appearance of my stamped images. Set these aside.
Step 2:
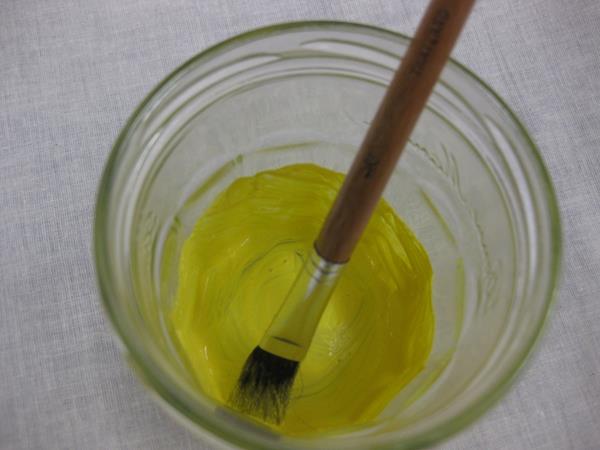
Choose a nice used jar. Mine is a jelly jar. Those are usually decorative, and small. Swirl a dab of yellow paint around the inside along the bottom.
Step 3:
Swirl some orange around the top, blending the two colors as you go. Experiment with different color combinations. Let dry. I used tempera paint. Acrylic would work too.

Step 4:
Carefully cut out your stamped images. Using Mod Podge, or your favorite gel medium, carefully glue them to the side of your jar. There are endless ways to line them up. After you are finished gluing your pieces down, use additional Mod Podge to cover the paper with a thin layer. Let dry.
Step 5:
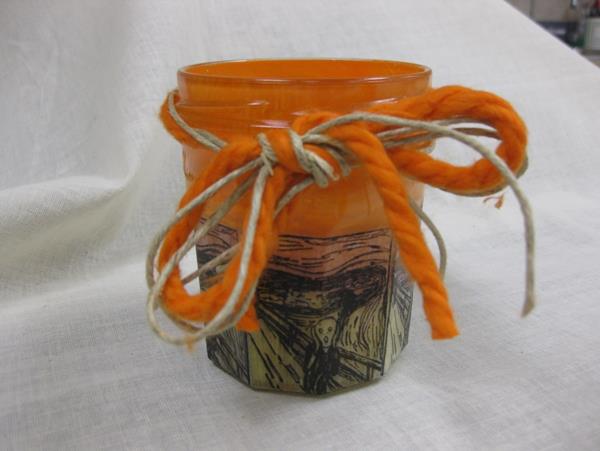
Disguise the screw on edge of your jar with some decorative yarn, twine or ribbon.
Step 6:
Place a small candle inside and enjoy!
(Please note that the type of paint you use on the inside will affect the care of the jar. A tea light candle with a metal holder will prevent wax from dripping on your jar and ruining the paint.)