
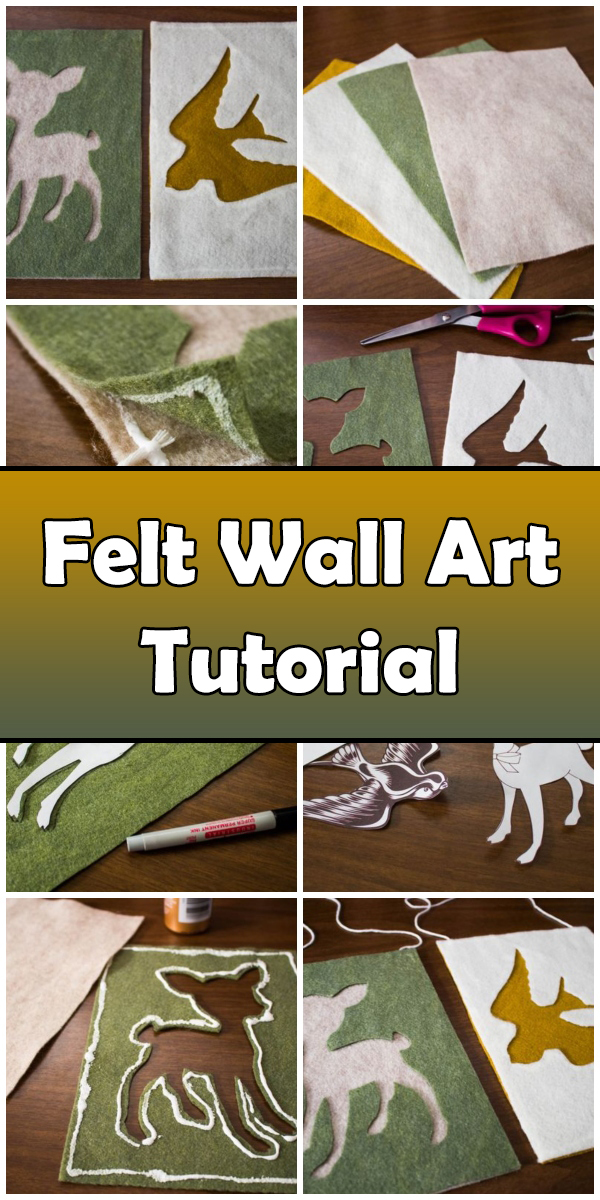
Art can be expensive, and painting your own art is hard. Fortunately making felt wall art is super easy, and cheap too! Check out the tutorial below to learn how.
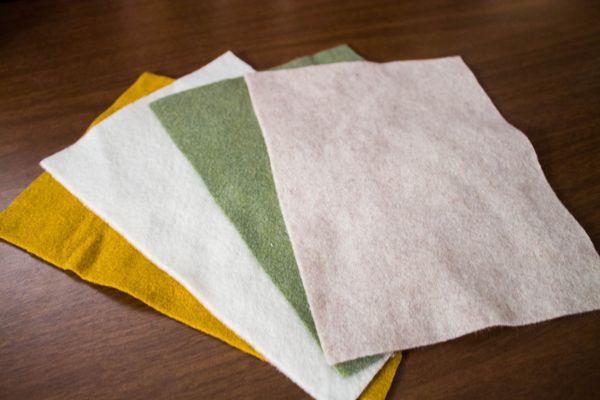
Step 1: Get Some Felt
Cut at least two pieces of felt the same size. Four will be used for the purpose of this tutorial.
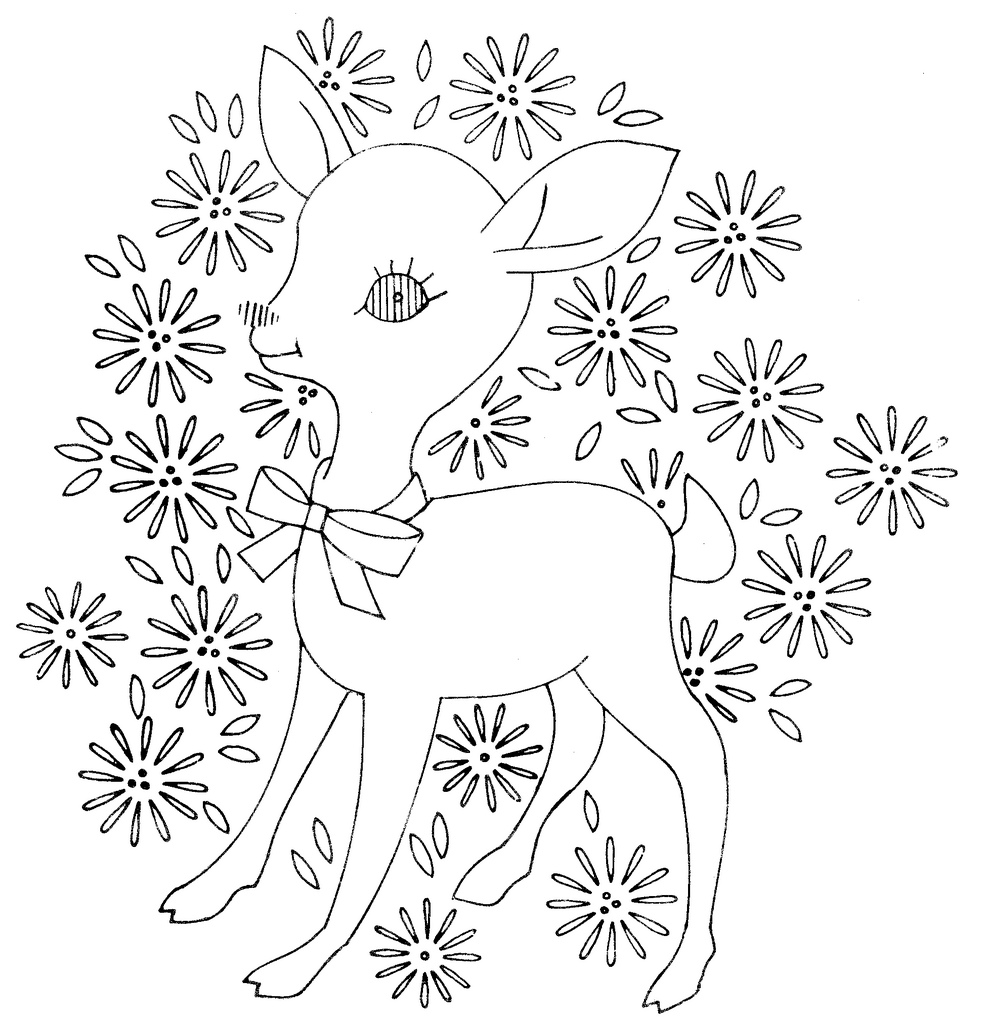
Step 2: Find Your Patterns
Choose a shape or silhouette and size it to be slightly smaller than your felt pieces. Print the shapes.

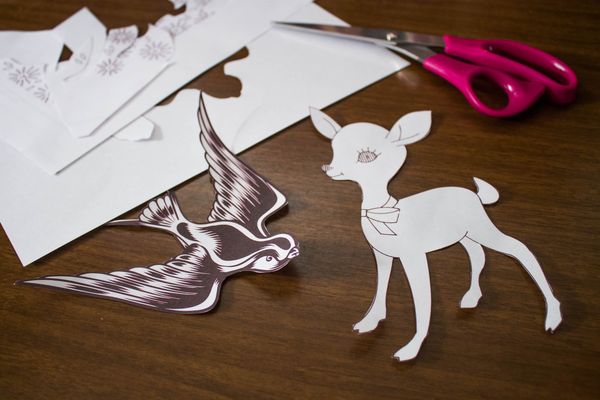
Step 3: Cut Them Out
Cut out the shapes.
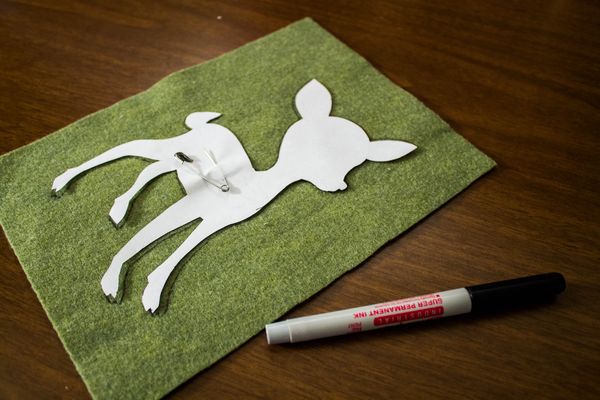
Step 4: Attach Patterns to Felt
Place the cut-out face down on what will be the back side of one of the felt pieces. Be sure to choose the color that will be more prominently seen on your finished wall art. Trace the shape with a fine tip sharpie or anything else that will show up on your felt. Try not to use a wide tip marker since it may bleed through the felt.
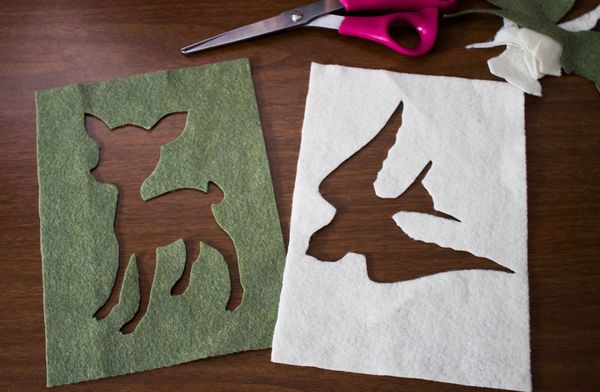
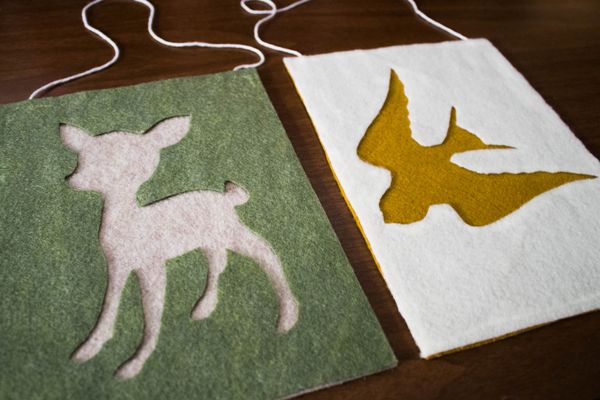
Step 5: Cut Out Shapes From the Felt
Cut the shapes out of the felt. Do not cut into the shape but cut from the inside out as the middle part will be discarded.
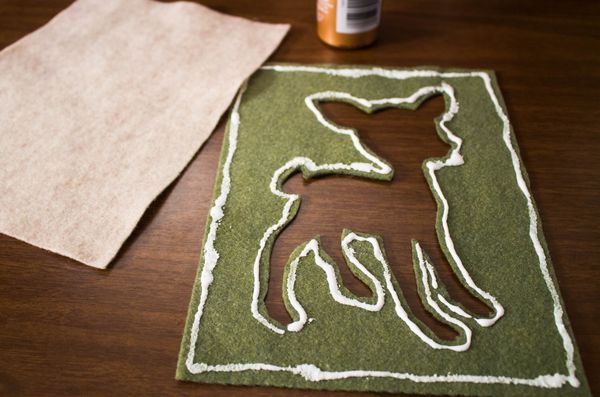
Step 6: Apply Glue
Using fabric glue or an all-purpose craft glue that dries clear, draw a line around all of the cut edges. Then place the other piece of felt onto the back of your cut piece.
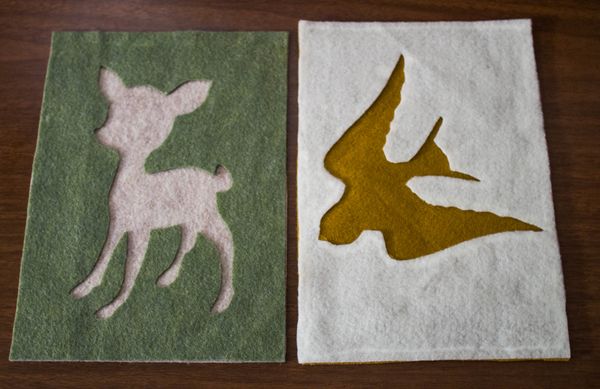
Step 7: Combine Your Felt Pieces
Turn the pieces over and press around all the edges. Don’t worry if some of the glue bleeds through or can be seen through the felt since the glue will dry clear.
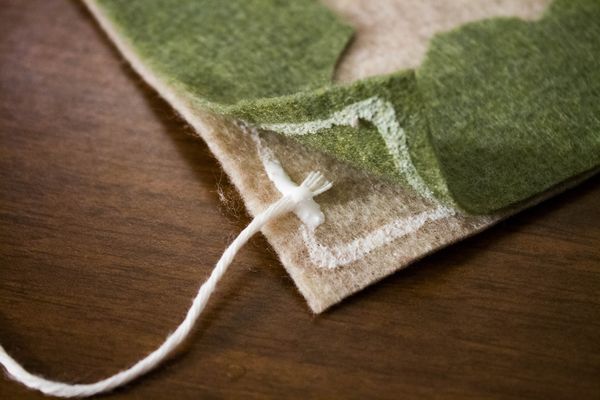
Step 8: Add a String
Before the glue dries, peal up the top two corners and glue a ribbon or string in between the layers.
Step 9: Let the Glue Dry
Do not attempt to hang your wall art until the glue dries completely!
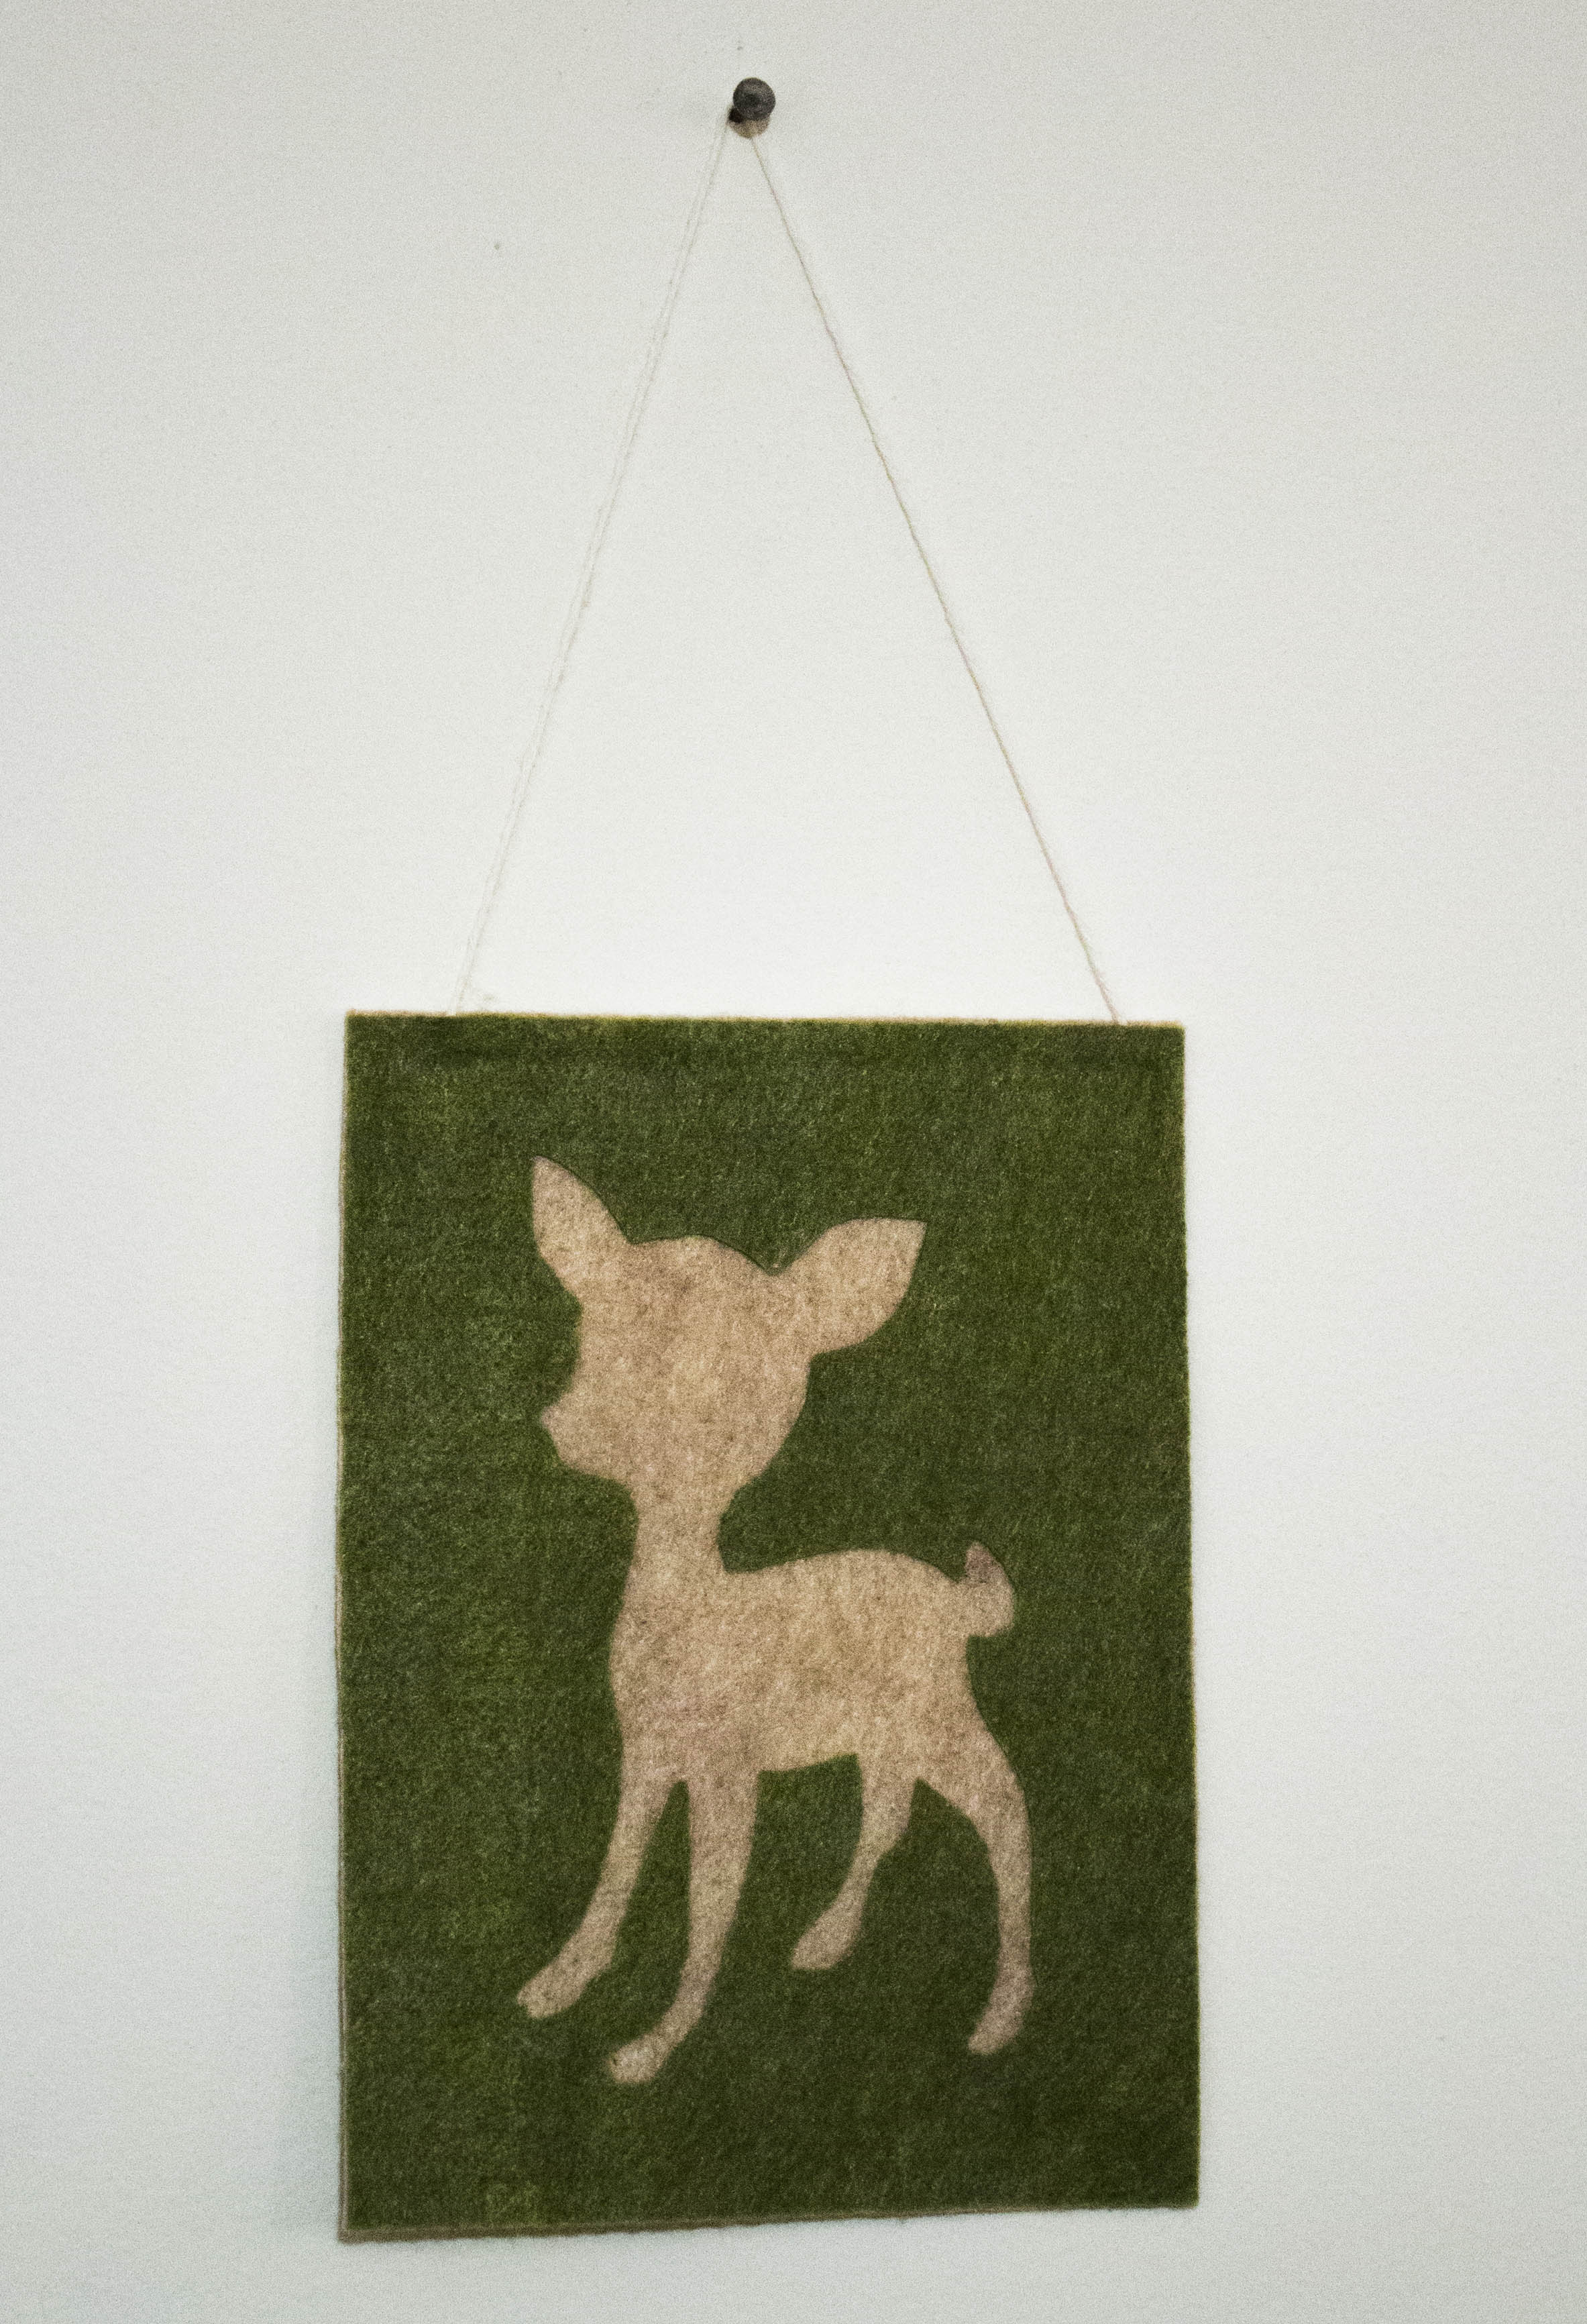
Step 10: Hang it Up
Find a nice place to hang it, and show it off to the world!
That was easy, right? There are tons of cool ideas for shapes to use for this too, such as:
- Silhouettes of friends and family
- Cartoon/Disney characters
- Letters/words
and more! If you come up with a cool idea and make it, we’d love it if you send it to us so we can show it off on our Facebook page!