
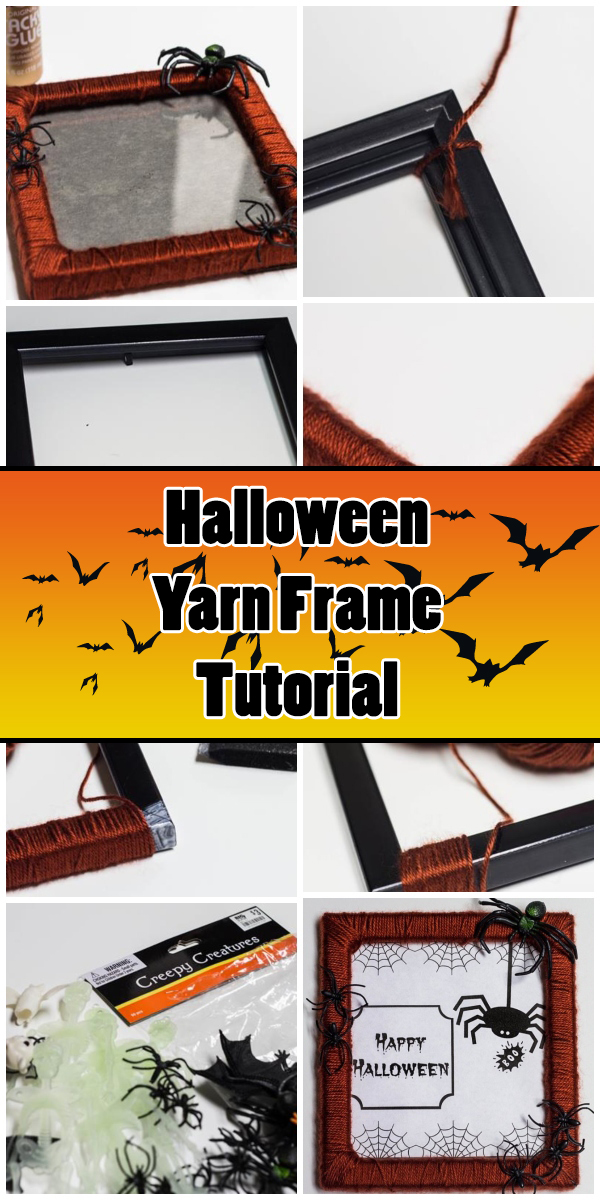
If you’ve ever gone shopping for picture frames, you’re well aware that the nicer looking ones tend to be somewhat expensive. Here’s a nifty way to turn a plain boring frame into something more interesting – with a Halloween twist, just in time for Halloween!
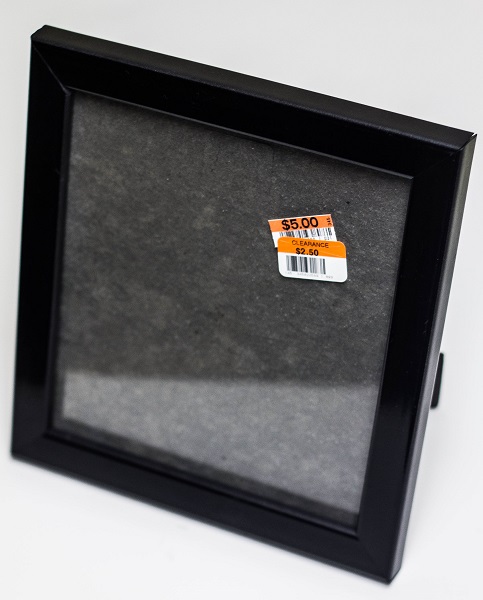
Step 1:
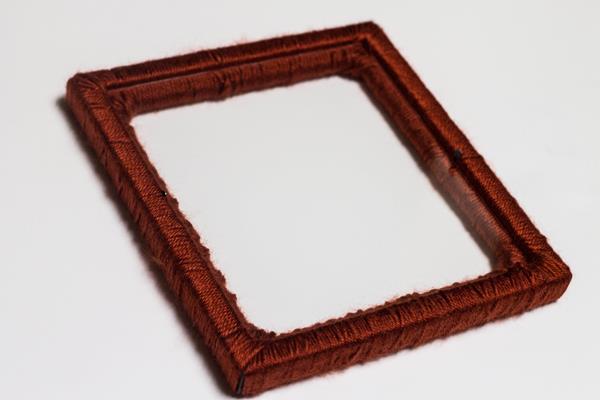
Choose a plain frame without too much embellishment that might get in the way of the yarn while it’s being wrapped.
Step 2:
Remove the back and glass out of the frame. You may also want to bend the metal tabs in the back down so they don’t catch on the yarn while your wrapping.

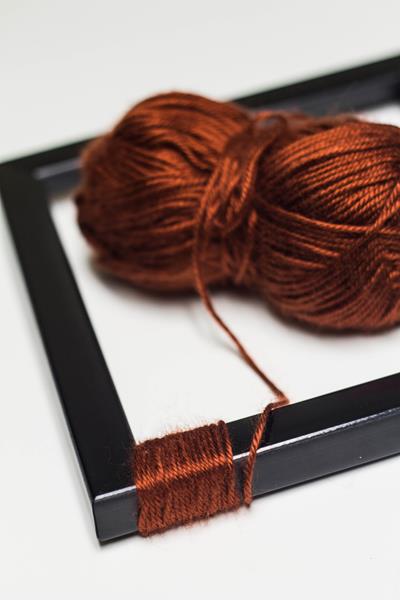
Step 3:
Begin by tying the yarn in a knot on the back side of the frame.

Step 4:
Start to wrap one side of the frame. Do not wrap too tightly or you may have a hard time fitting the glass back into the frame when you’re done.
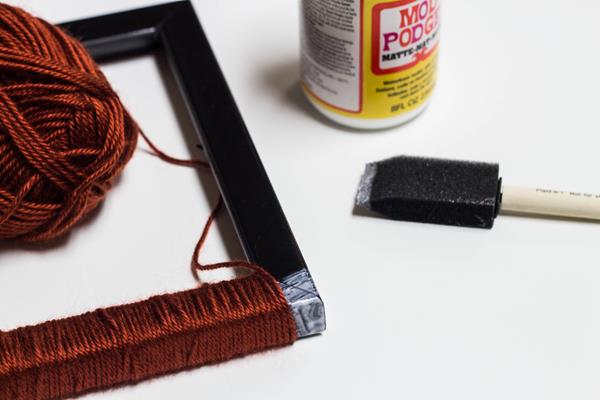
Step 5:
When you get to the corner, paint some glue or Mod Podge around the corner to prevent the yarn from slipping. Continue wrapping.
Step 6:
Once you’ve wrapped all four sides, cut your yarn and tie a knot on the back to secure it.

Step 7:
You should now be able to fit the glass and backing into the frame.
Step 8:
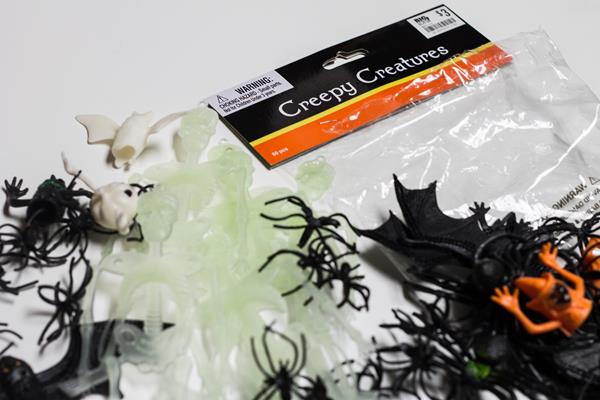
If you like, choose a few of your favorite Halloween creepers to glue on the front of the frame.
Step 9:
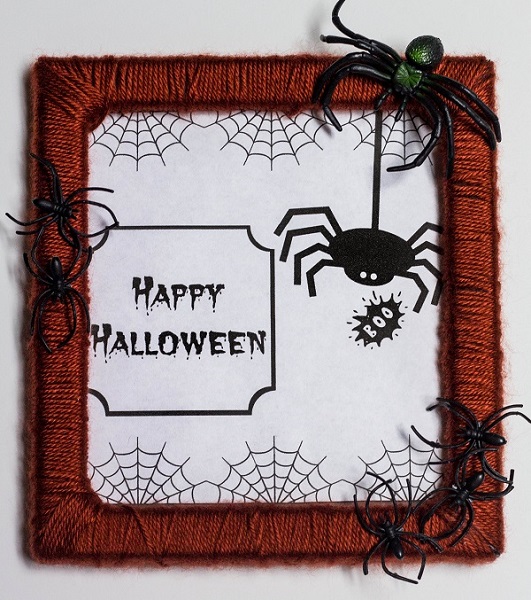
Glue the pieces down and wait for them to dry completely.

Step 10:
Enjoy your creepy new frame!
To make it extra Halloween-y, you could use orange/yellow/green and black yarn. Or if you’re feeling particularly ambitious, you could make a candy corn frame – yellow on the bottom, orange in the middle, white on top!
These yarn wrapped frames work perfectly with every season – just change the colors and accents as needed. Use orange, yellow and brown yarn with some fake fall colored leaves glued to the outside for a Fall/Thanksgiving themed frame, or use red and white yarn with some snowflake accents to make a great Christmas frame!