
Having flowers indoors is something most people enjoy – they smell nice, they look nice, they’re just… nice. Unfortunately, they tend not to live very long no matter how well you take care of them.
Fortunately, paper flowers don’t suffer from that problem! They also don’t smell as nice as real flowers, but they’ll last year-round and you can make them in any colors you want! Check out the tutorial below to find out how to make your very own paper flowers.
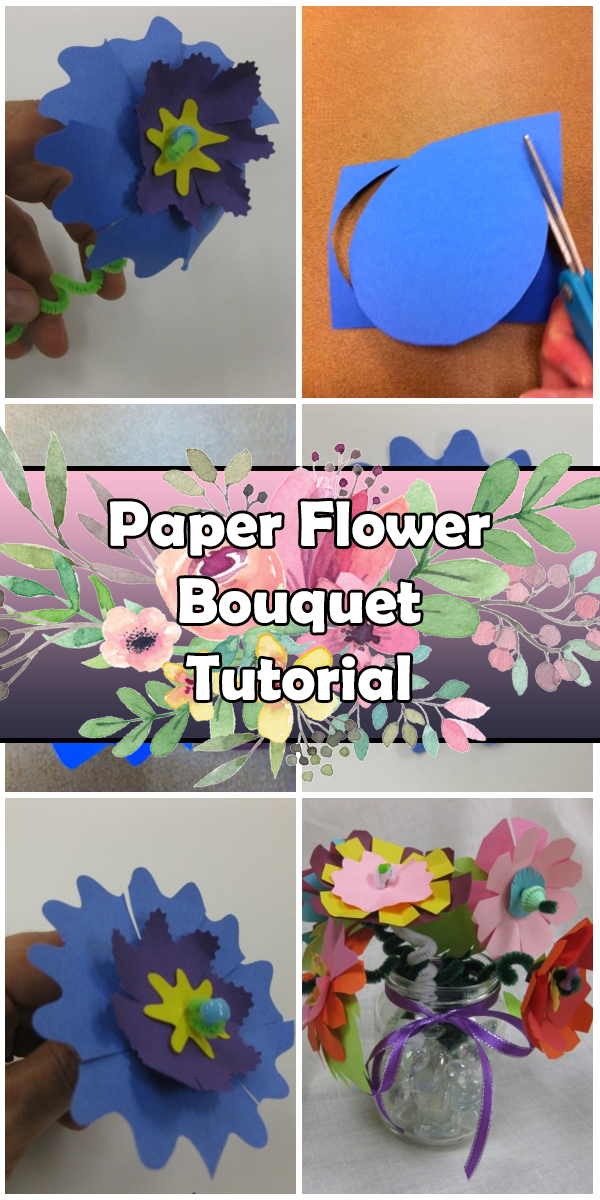
Step 1:
Cut the corners off of a square piece of colorful construction paper to make it into a circle. Or, at least circle-ish! It doesn’t need to be perfect.
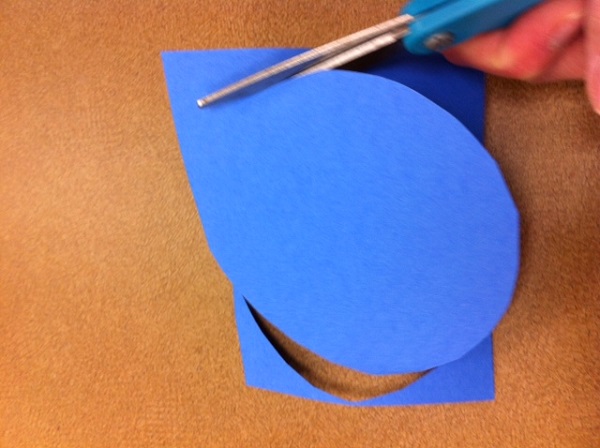
Step 2:
Cut some little notches out from the circle to make a fun edge. You can also try trimming with special scissors.
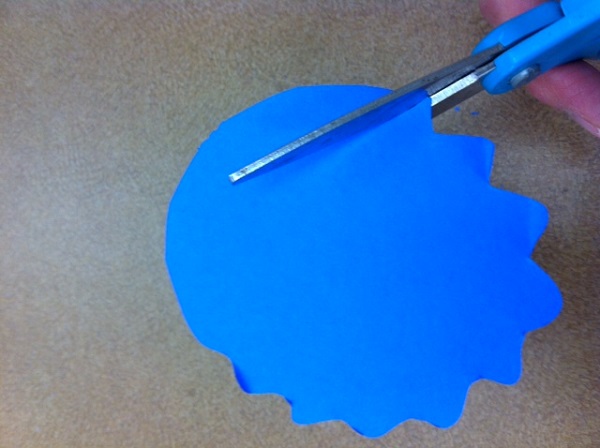
Step 3:
Cut several lines from the outside of the circle toward the center of the circle, but don’t cut too close to the middle.
Step 4:
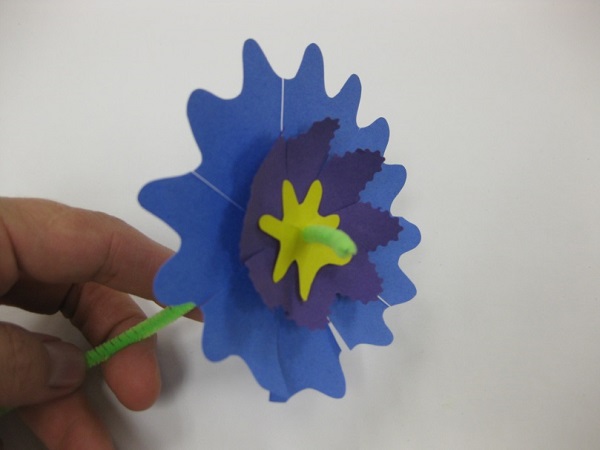
Repeat this process for one or two more circles which are each a little bit smaller and different in color.

Step 5:
Using the end of a chenille stem, poke a hole in the center of each circle. Sometimes it helps to use a tapestry needle or push pin to make the hole. Stack them up from large to small and thread onto the stick.
Step 6:
Glue the foam shapes onto a piece of scrap cardboard. The cardboard makes the stamps sturdy, and without it they’d be unusable!

Step 7:
Thread a bead on the end of the stick and fold over.

Step 8:
Make lots of flowers and enjoy!
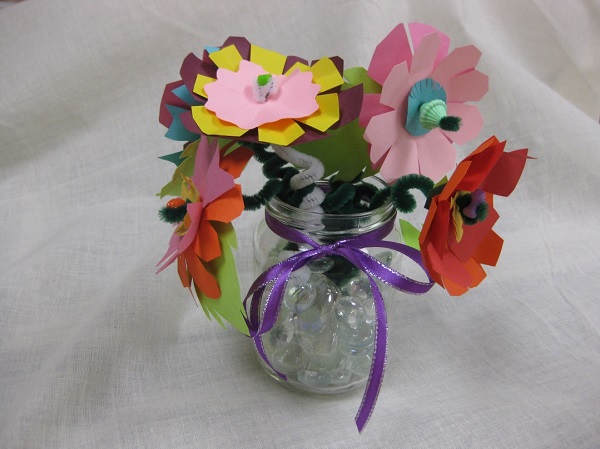
Since you have total control over the colors of these flowers, you can make them fit the theme of whatever holiday or season it is. For instance, you could make orange and yellow flowers for Thanksgiving, white and red flowers for Christmas, or red white and blue flowers for the 4th of July. No matter what colors you choose for your flowers, you’ll surely have fun making them!