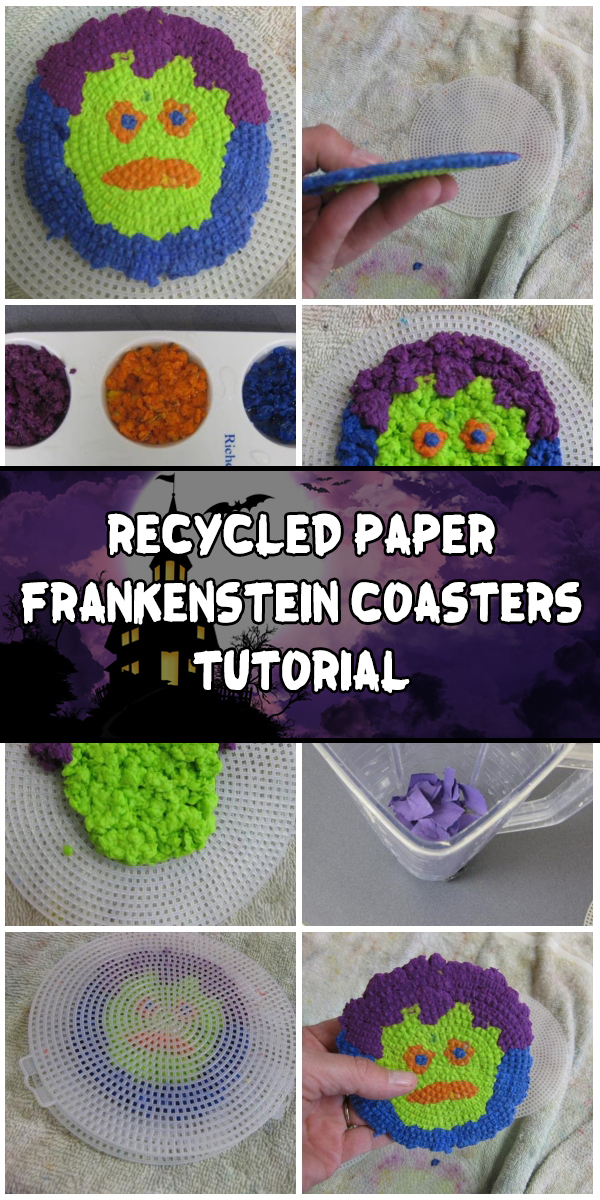
A common problem for any avid crafter is finding things to do with left over construction paper scraps. You can use them to make mosaics and stuff like that, and that seems like pretty much it. So here’s a rather unconventional but very fun way to put them to good use.
Step 1:
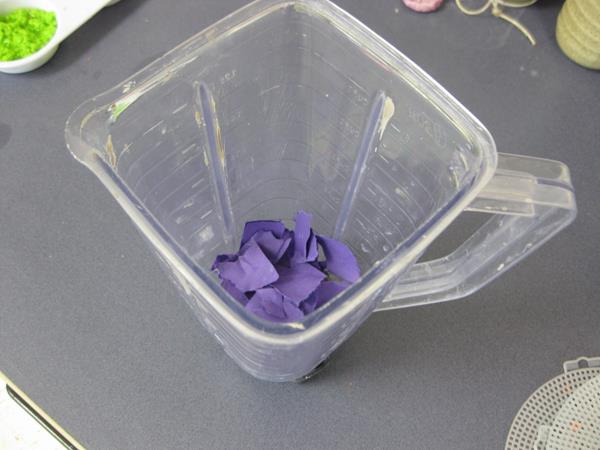
Round up all of your little scraps of construction paper. (You save those, right?) Tear them into pieces about the size of a nickel and put them in a blender; about 2/3 of the way full is good. Cover with cold water and blend until you make a slurry of paper and water.
Step 2:
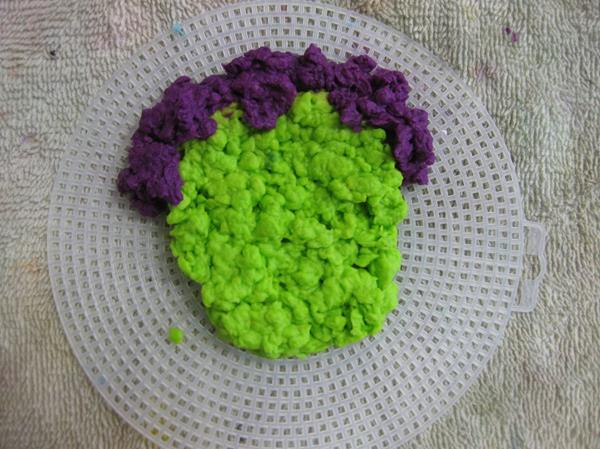
For my recycled paper coaster, I wanted a Frankenstein theme for Halloween parties. I chose purple, orange, green and blue, but any colors you like will work (I have never used black or white, though).

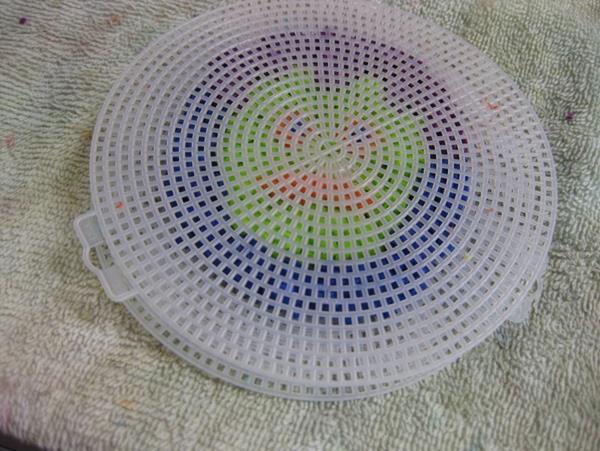
Step 3:
For the next step you will need some plastic canvas commonly used for sewing projects. The shape doesn’t matter, but you don’t want to make your design too big. The largest I have done is about five inches In diameter, which is what my sample is. Lay the plastic canvas on an old towel and begin to create your design using the paper pulp. I started with an oval shape in green for Frank’s head. I added some purple for his hair.
Step 4:
I continued to add pulp to make the rest of my design. The pulp on the canvas is about ¼” thick. Too thin and it won’t be strong; too thick and it won’t work too well either. You may need to experiment a bit.

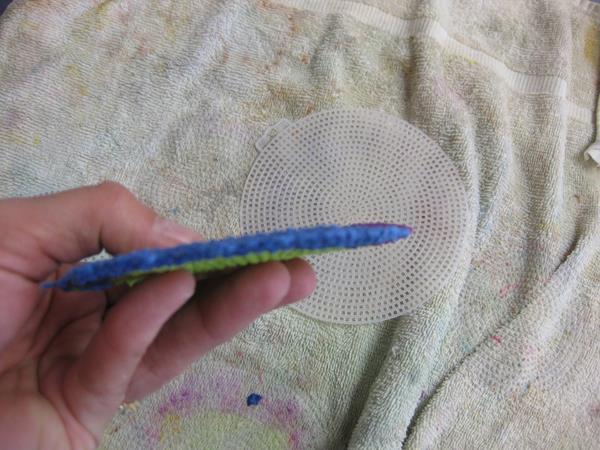
Step 5:
When you are satisfied with your design, place a second plastic canvas on top. Cover with another old towel and begin to press down to squeeze out the water from the pulp.
Step 6:
After you press the water out, lift off the top piece of canvas and check to make sure the water is mostly out and the piece is generally flat and firm. Carefully lift it off of the bottom piece of canvas. It should hold together nicely. If it doesn’t it is either too thin, or too thick, or you didn’t press out enough of the water.

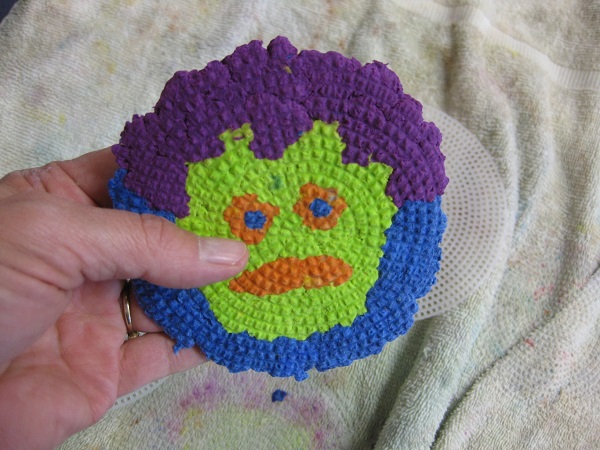
Step 7:
You should be able to hold it up without it bending or breaking.
Step 8:
You can add little details with permanent ink markers; add a ribbon loop if you want to hang it up. It could also be used as a gift tag… look for more tutorials using this technique to make three dimensional crafts!