

Make your own “elf” for your very own shelf…
There’s a very popular elf looking in on kids these days, but there’s no need to pay for an expensive elf when you can lovingly make your own with materials you probably have around the house.
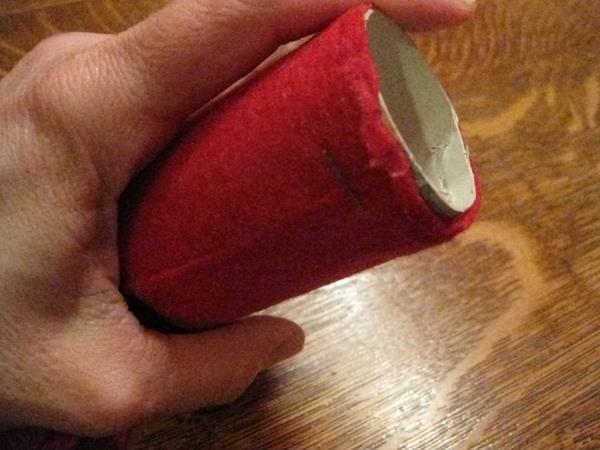
Step 1:
Wrap a piece of red felt around a cardboard tissue paper tube. Secure with staples or glue.
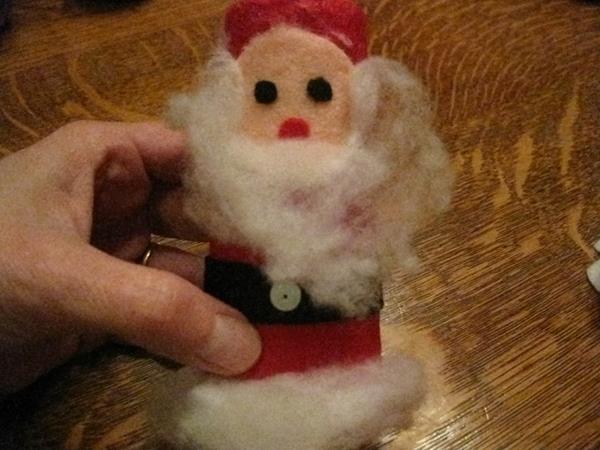
Step 2:
Turn the tube around and add details to make a belt, a simple face (you will only need two little black circles for eyes and one little red or pink circle for the nose. A sequin will work for a belt buckle. Strands of cotton make a nice beard and trim for the bottom of the coat. These are all glued in place with plain old white school glue.
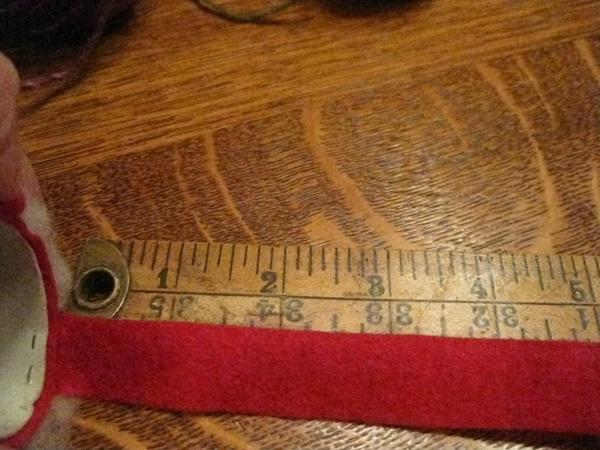
Step 3:
Next, you will need to cut four pieces of red felt – each about five inches long and a half – three quarter inch wide. There will be your elf’s arms and legs. Attach two of these pieces to the bottom and you have a pair of legs. I stapled mine in place.
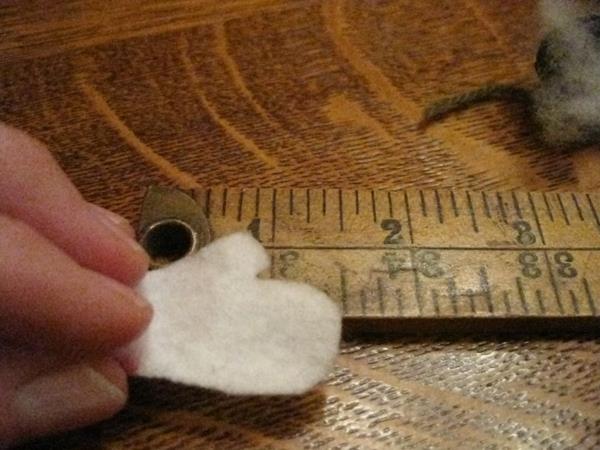
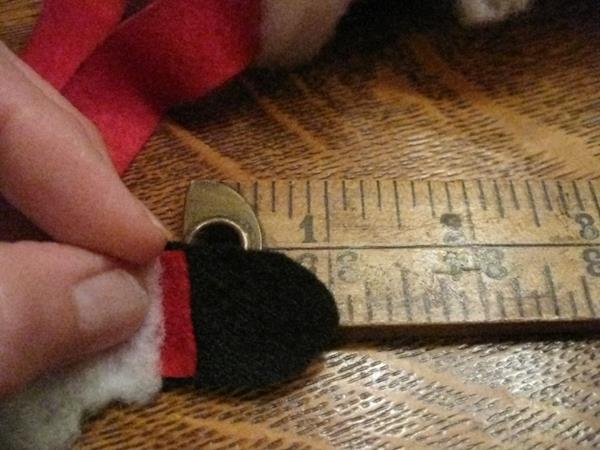
Step 4:
Cut out two gloves and two simple feet. Glue them on to the ends of the arms and legs and trim with more cotton.
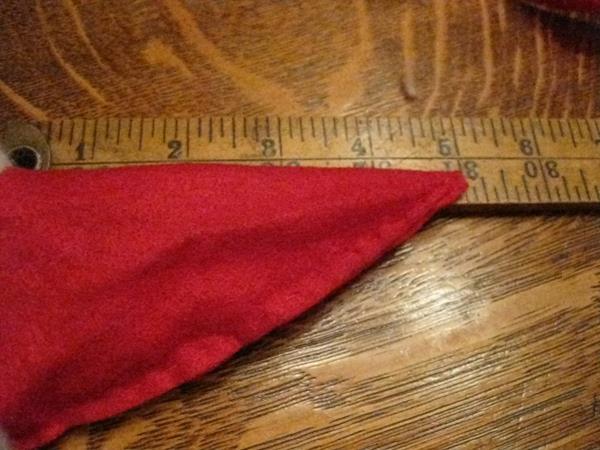
Step 5:
Cut out a large triangle – about five inches on each side. Fold in half and sew together along the edge.
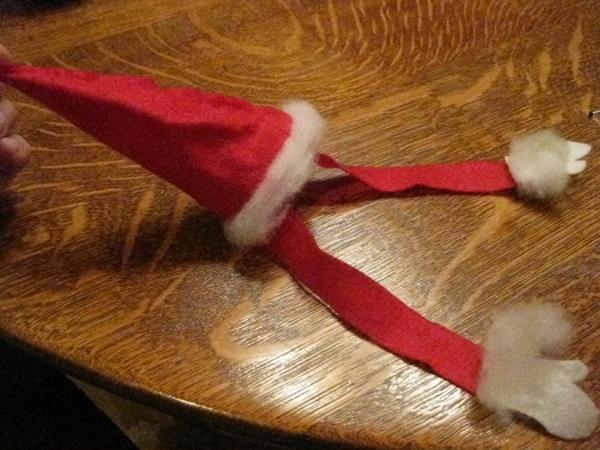
Step 6:
Attach the arm pieces to the inside of the hat. You can glue or even staple if you wish since it will all be covered up with the fluffy cotton trim.
Step 7:
Glue on the hat/arms to the top of the tube. Almost done!

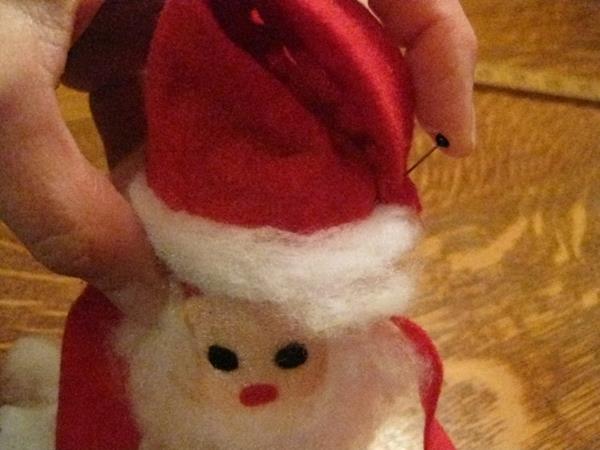
Step 8:
Use a straight pin or a dab of glue to hold the tip of the hat over to the side at a jaunty angle. Your elf is now ready for some holiday fun! Enjoy your family time together!
Step 9:
Here’s the finished elf – he’s adorable and waiting to be named!
